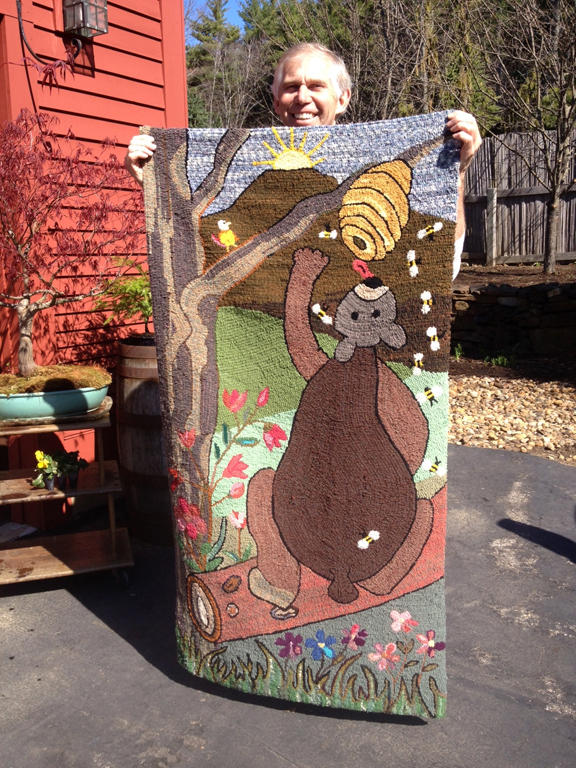
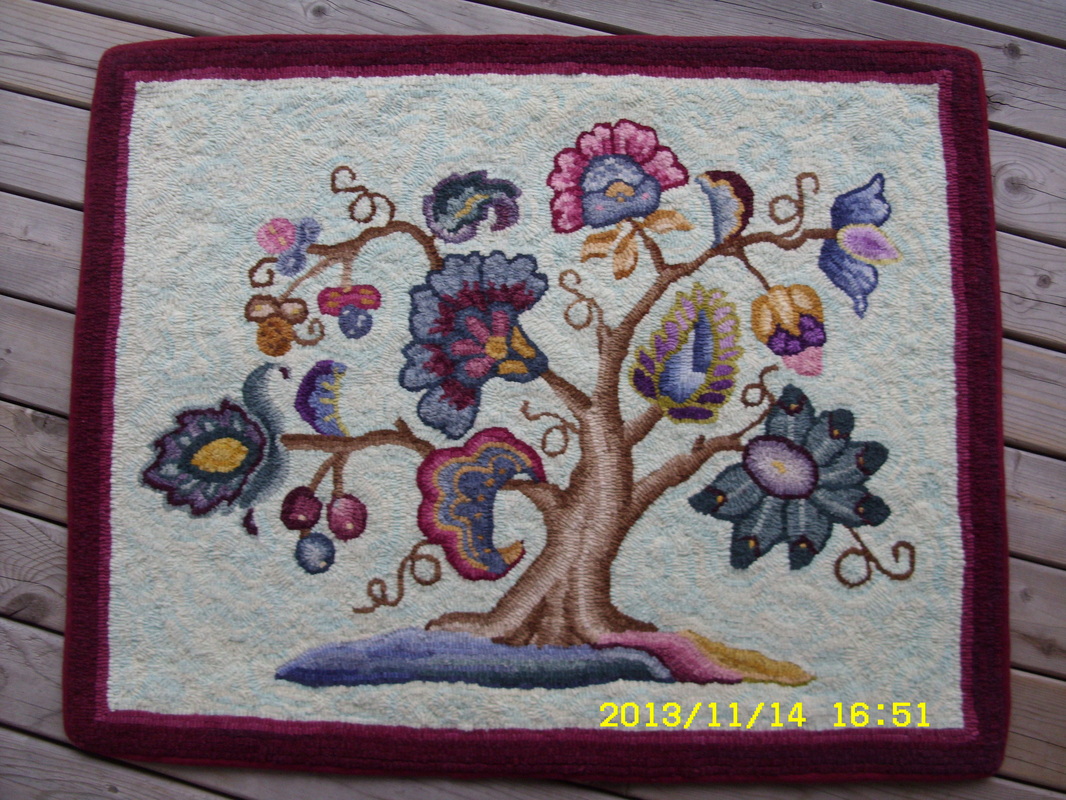
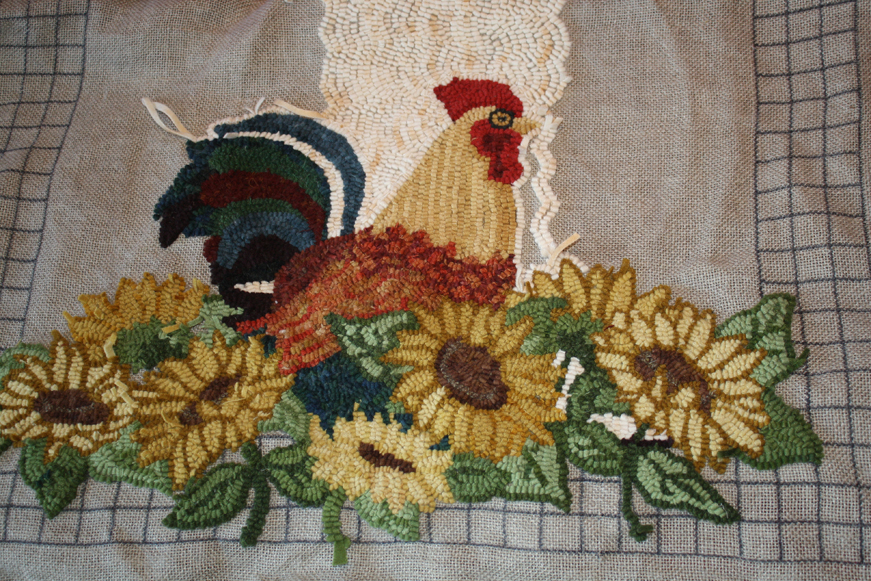
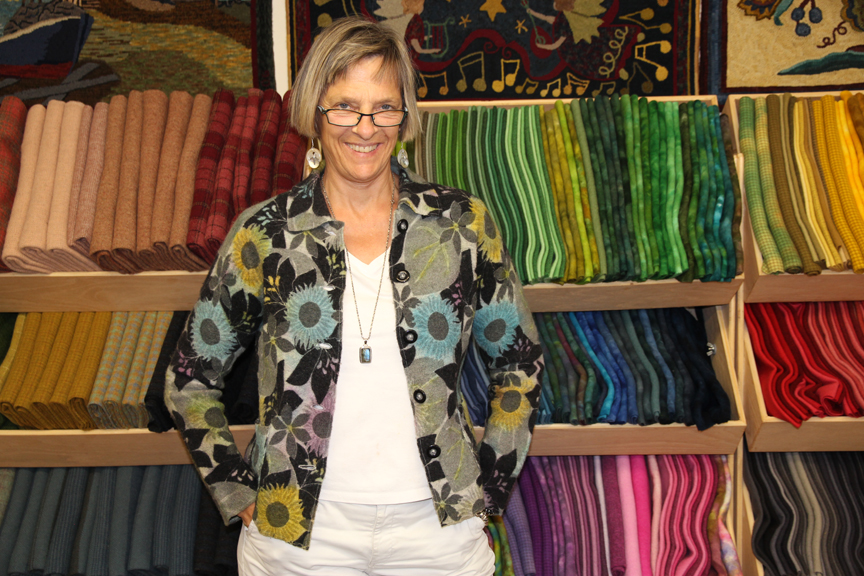
By Guest Blogger Charlene Scott
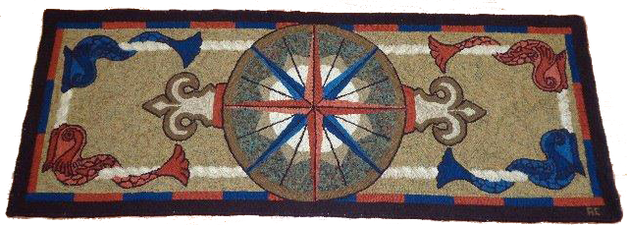
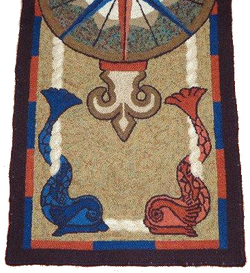
I had an enjoyable week at the Nova Scotia Guild Rug School this year held in Halifax, earlier this month. I did the Celtic Design class with Gail Lambert. I chose to design my own rug after looking through many pages of illuminated manuscripts of the Book of Kells on the Internet.
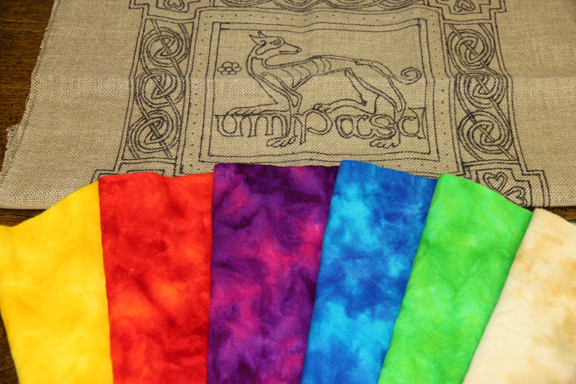
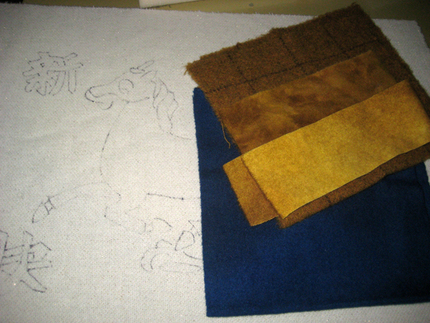
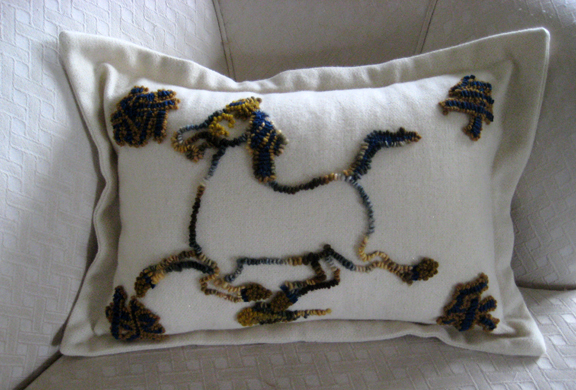
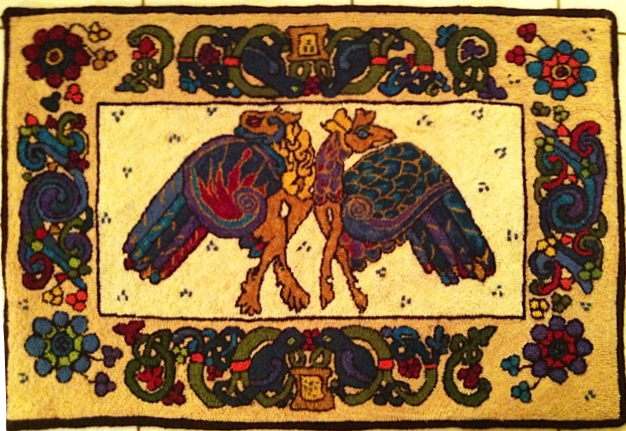
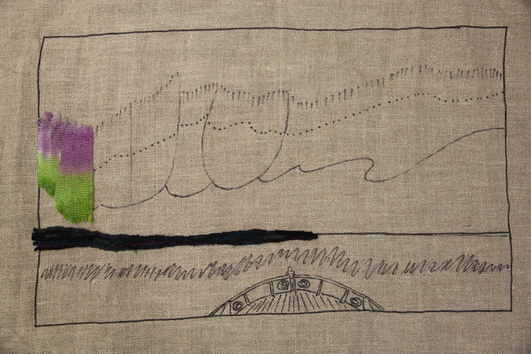
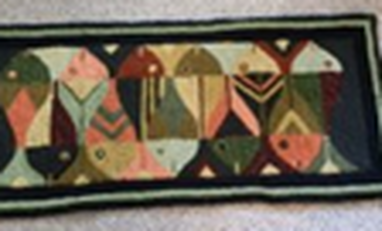
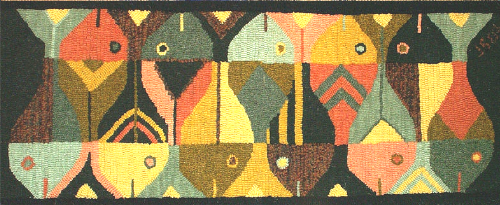
When I saw a small drawing of a lion I knew it was going to be the start of my design. With the deep chest and narrow waist I immediately thought of my two greyhounds. So I changed the face of the drawing to make it more like a dog muzzle and that was the only modification for the center.
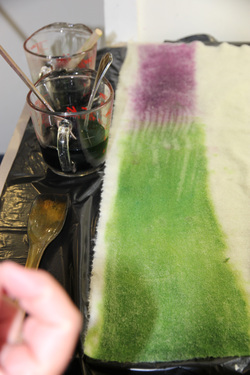
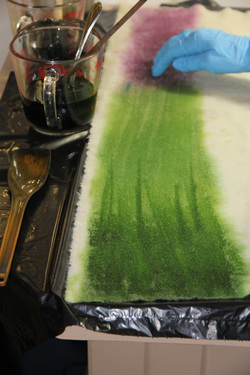
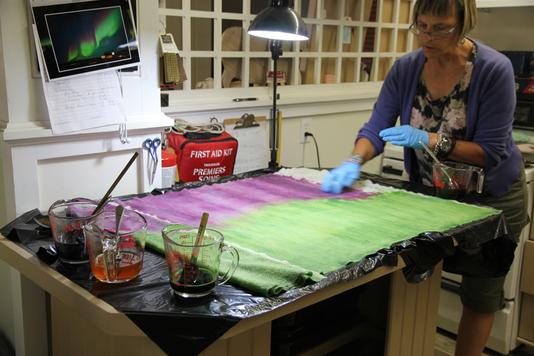
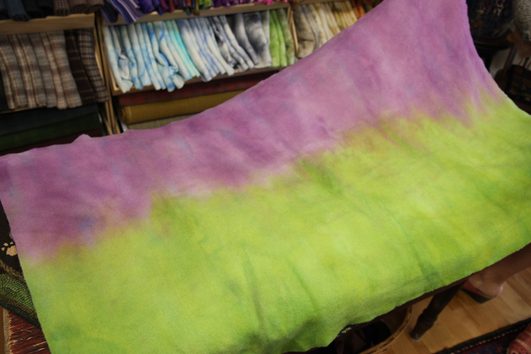
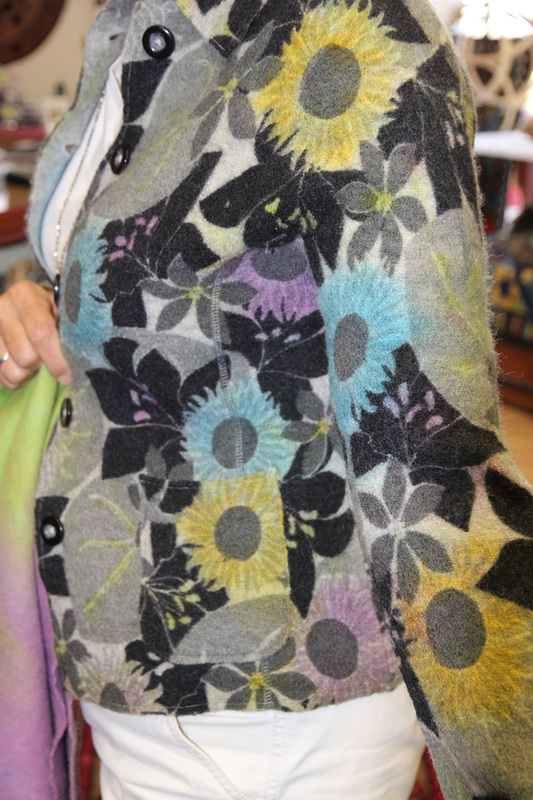
I drew inspiration from the other drawings and came up with the large border and corners. I then printed off a few black and white drawings of my design and proceeded to colour them until I came up with a colour plan I liked. I then saw Shane at the shop and we got all the colours except the red and green off the shelf. Then Shane proceeded to dye the green and red as I wanted them; for me the brighter the better.
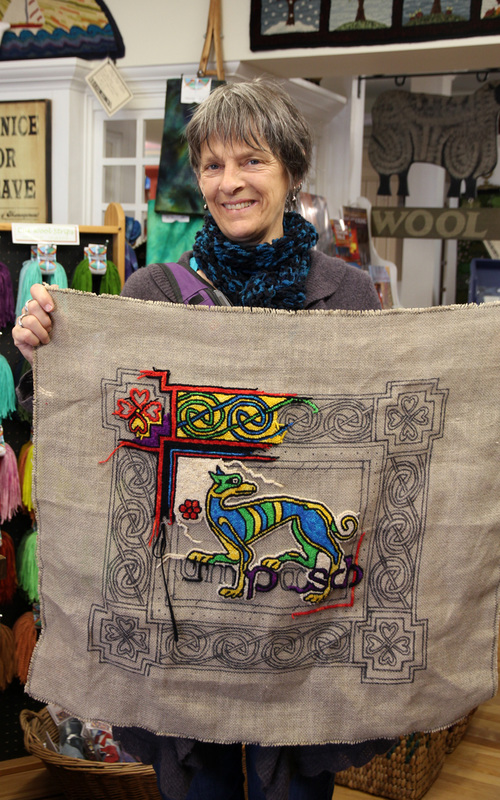
Class was great. The instructor gave us many stories about the history of the Celts and the colours they used in their lives. She gave many tips on hooking small areas and how to prevent small areas from growing. That has happened to me many times and the tip was greatly appreciated. I got my first introduction to the 2 cut, a strip almost as small as a human hair but necessary in small spaces.
As with most of my rugs, I had the bulk of the colours figured out except for the area between the center and border. Gail was great and we spent some time trying many colour combinations till we both agreed that the heavy black line with the blue line was the best solution.
It was a great week as always. The Thursday evening showing of everyone's projects was inspiring and left me with a couple of ideas for future projects.
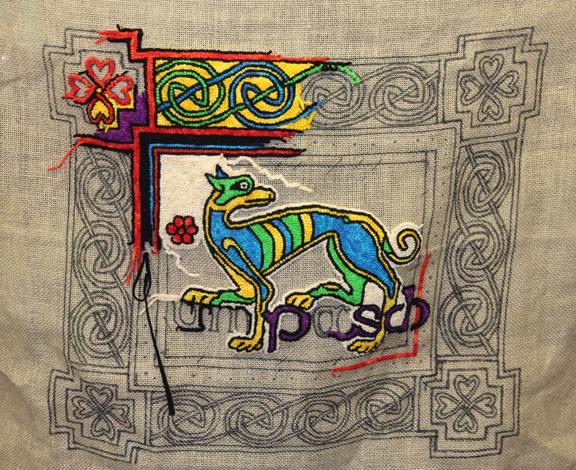
I can't wait till I finish.
Note: The Book Of Kells is believed to have been created c. 800 so copyright wasn't an issue.
When I saw a small drawing of a lion I knew it was going to be the start of my design. With the deep chest and narrow waist I immediately thought of my two greyhounds. So I changed the face of the drawing to make it more like a dog muzzle and that was the only modification for the center.
I drew inspiration from the other drawings and came up with the large border and corners. I then printed off a few black and white drawings of my design and proceeded to colour them until I came up with a colour plan I liked. I then saw Shane at the shop and we got all the colours except the red and green off the shelf. Then Shane proceeded to dye the green and red as I wanted them; for me the brighter the better.
Class was great. The instructor gave us many stories about the history of the Celts and the colours they used in their lives. She gave many tips on hooking small areas and how to prevent small areas from growing. That has happened to me many times and the tip was greatly appreciated. I got my first introduction to the 2 cut, a strip almost as small as a human hair but necessary in small spaces.
As with most of my rugs, I had the bulk of the colours figured out except for the area between the center and border. Gail was great and we spent some time trying many colour combinations till we both agreed that the heavy black line with the blue line was the best solution.
It was a great week as always. The Thursday evening showing of everyone's projects was inspiring and left me with a couple of ideas for future projects.
I can't wait till I finish.
Note: The Book Of Kells is believed to have been created c. 800 so copyright wasn't an issue.
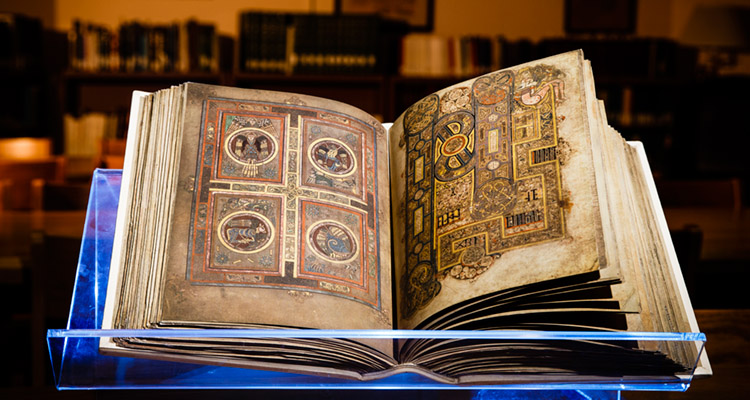
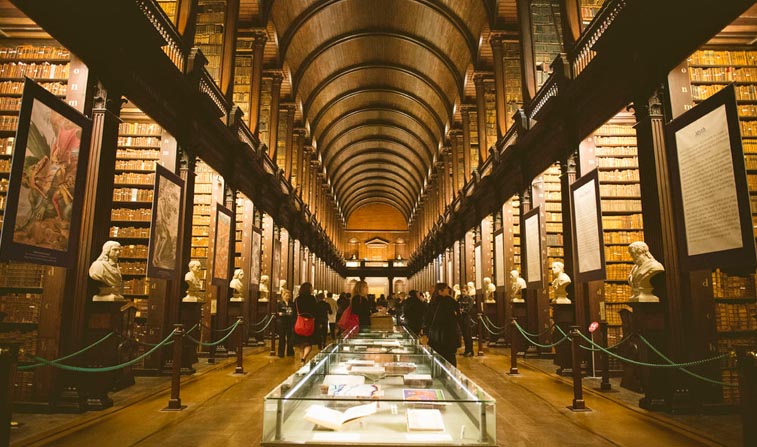
The Book of Kells is the centerpiece of an exhibition which attracts over 500,000 visitors to Trinity College in Dublin City each year.
Written around the year 800 AD, the Book of Kells contains a richly decorated copy of the four gospels in a Latin text.
Written around the year 800 AD, the Book of Kells contains a richly decorated copy of the four gospels in a Latin text.


 RSS Feed