1. First draw your idea on paper. This allows you to easily make changes until you perfect your design. If you work directly on the burlap with a marker mistakes are permanent and make for a messy pattern.
2. Place the red dot medium over the drawing and secure with stick pins or tape so it doesn't shift while you work.
3. You will be able to see your drawing through the red dot very clearly. Trace over all the lines of your pattern with either a pen or ultra-fine tipped marker. Now your design will be on the red dot medium.
4. Position the red dot over your burlap and secure it with stick pins.
5. Trace over the lines with a Sharpie marker or any marker with a point. The ink from the marker will bleed through the red dot and absorb into the backing. After you have traced over all the lines remove the red dot and you should see a perfect replica of your pattern. Now go over the lines on the backing with the marker to darken them. Don’t press too hard with the marker when working directly on the burlap as it is a rough surface and will wear off the tip fairly quickly. The tip is what gives you a fine line on your design, keeping it neat and detailed. Once the marker gets too dull it will make thick lines.
6. Except for objects with straight lines or borders all of the lines of a pattern can be transferred using the red dot medium. When transferring pattern that has straight edge you have to establish that first on the backing before you position your red dot to do the inside design. The straight line will need to be drawn by hand with a pencil. For instance: If you have a design that is 15 x 15 you would leave a distance of at least 3” along the outside edge so that the pattern will fit in your frame. This would mean that you are working with a piece of burlap that is 21” x 21”. (If you want a wider edge you can make it larger) Take a ruler and measure 3” in on one side, find the closest channel in the grain, take a pencil and drag it along that channel until it reaches 15” in length. Then on the end of that first line make 90* turn and drag the pencil in the nearest channel until you reach 15” in length. Do the third side of the border and then close off with the fourth side. You will be using your ruler to measure each line so it is a perfect 15" x 15" square. This will give you a nice straight outer edge for your pattern and make hooking so much easier on as all the holes will line up. if there is a border on the pattern you would have had to consider that in your measurements. If the pattern is 15" x 15" with an inch border around the outside you would have started with a piece of backing this is approximately 23" x 23" so you would have the excess 3" all around and a design that measures 17" x 17" in total.
All geometric patterns like inch mats and anything with squares or straight lines are drawn by hand by dragging a pencil along the grain. Make sure the pencil is somewhat sharp as when it gets too dull it won’t lay in the channel of the grain. After you have your lines drawn you can then drag your marker along those pencil lines to darken them.
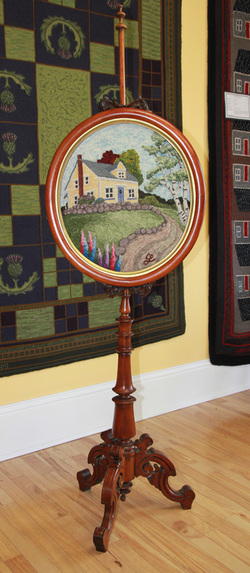
Any time you have a design with a house surrounded by trees and shrubs you would transfer everything with the red dot accept the house. You use the drawing on the red dot to see where the lines should be below it, find the closest channel (straight row) in the backing grain, rub the pencil along the grain through the red dot, then lift the red dot on one corner and you will see where your pencil had made a faint line, go over it with the pencil again to widen the channel and then use the marker to darken it. Follow this process for all the lines on the house, including the door, windows and roof. A bit of preparation and taking the time to do it right means hooking in straight lines....so much easier than trying to hook a line that goes on and off
the grain, correcting it to the left and then to the right; your line ends up looking like a drunk staggering his way home.
Not all pattern manufactures produce their designs by hand. Most companies have them stamped which means lines that are not on the grain. Enquire before you buy, especially if there are a lot of straight lines in the design and especially if it is an oriental pattern as that means hooking in all horizontal lines....you will be cursing!!! Before you fork over your hard earned money ask, "Is this pattern straight on the grain?" When I first started my business I was a bit green and bought designs from pattern houses. Most were stamped and so crooked my customers wouldn't buy them so they hung on the racks until I recycled them, using the back of the pattern to draw on and hook projects for the shop. A costly mistake for me, so I decided that I would only sell my own designs, all hand drawn, perfectly straight on the grain and even though it's labour intensive, with some patterns taking over two days to produce, the product speaks for itself.





 RSS Feed


