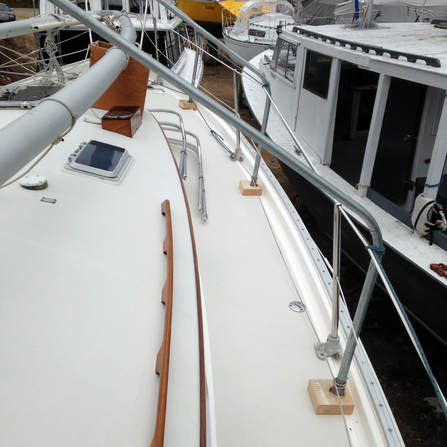
Although this gutter design was a genius idea (thank-you Mark Ellis), when we bought our boat it came fraught with cuts, scrapes and holes along them, unsightly damage to the gelcoat with potential for leaks between in the outer hull and inner liner.
This summer I bought a gelcoat repair kit with colour matching paint and got to work. I prefer hands on to reading instructions and Gregg is well versed using epoxy so he gave me a demo on how to mix the two liquids. I thought, how hard can this be? Pardon the pun.
I vacuumed the areas to repair and wiped them down with lacquer thinner to remove any grime to prep them properly. The Popsicle stick provided for spreading was a disaster, smearing it in uneven levels and going well beyond the area I needed to fill. There was little control and because the wood stick is curved on the end only one part of the applicator touched the surface, cutting a channel through the applied gelcoat. After my first try and subsequent sanding, I quickly discovered the less you put on the easier it was to finish the job.
There were a lot of holes and because the mixture went hard within 15 to 20 minutes messing around with the stick would have meant making up many batches of gelcoat, so I had to come up with a way to make the application faster and smoother. I cut a piece of plastic from a yogurt container and used that as an applicator, it was flat to the surface and flexible which targeted filling the hole and conformed to the shape of the surrounding surface so that it didn’t leave any excess gelcoat behind.
So I filled all the holes and scuffs, sometimes needing more than one coat to build up in the deeper areas. I was pretty lucky matching the faded smoke white original colour, a wee bit of brown and an even tinier bit of black, the amount that would sit on the tip of a toothpick with room to spare. In the brilliant, blinding glare of the sunlight on the deck, it’s almost a perfect match.
I’m wasn’t sure why the gutters were so cut up but Gregg thought perhaps the metal frame that is erected for winter storage was the culprit. The rubber feet that usually protect the boat were old and chalky and the sharp metal edges punctured through grinding back and forth as the winter winds caught the cover and shifted the frame. Like scissors cut paper, metal is going to slice plastic every time.
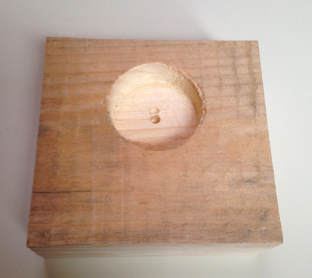
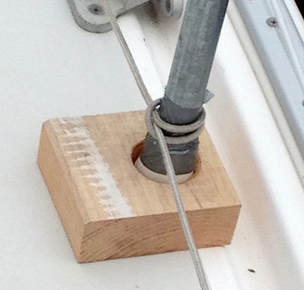
Gregg replaced the rubber feet and then built bases for each frame pole out of wood. They are 4” x 4” in size with drilled out depressions about half way into the thickness of the 1 ½” block of wood. A hole saw cut the circle and then he chiseled out the inside of the cut. The first year of use worked as far as preventing further chaffing but the underside drew moisture and mold formed so the next year he painted the bottom to seal it and they were clean the following spring when we removed the frame. Prevention is always the best medicine. In the never ending work a boat requires, if you can pre-empt problems, there’s less repairing and more time for sailing.


 RSS Feed


